 Best Budget Laptops for Students 2026: Top Picks for Performance, Battery Life, and Value
  Cost to Build a VR Gaming Setup: Realistic Budget Breakdown and Component Guide
  Best Indie Games to Play This Year: Top Picks, Must-Try Hidden Gems, and Essential Guides
  How to Build a Custom Gaming PC: Step‑by‑Step Guide for Parts, Assembly, and Optimization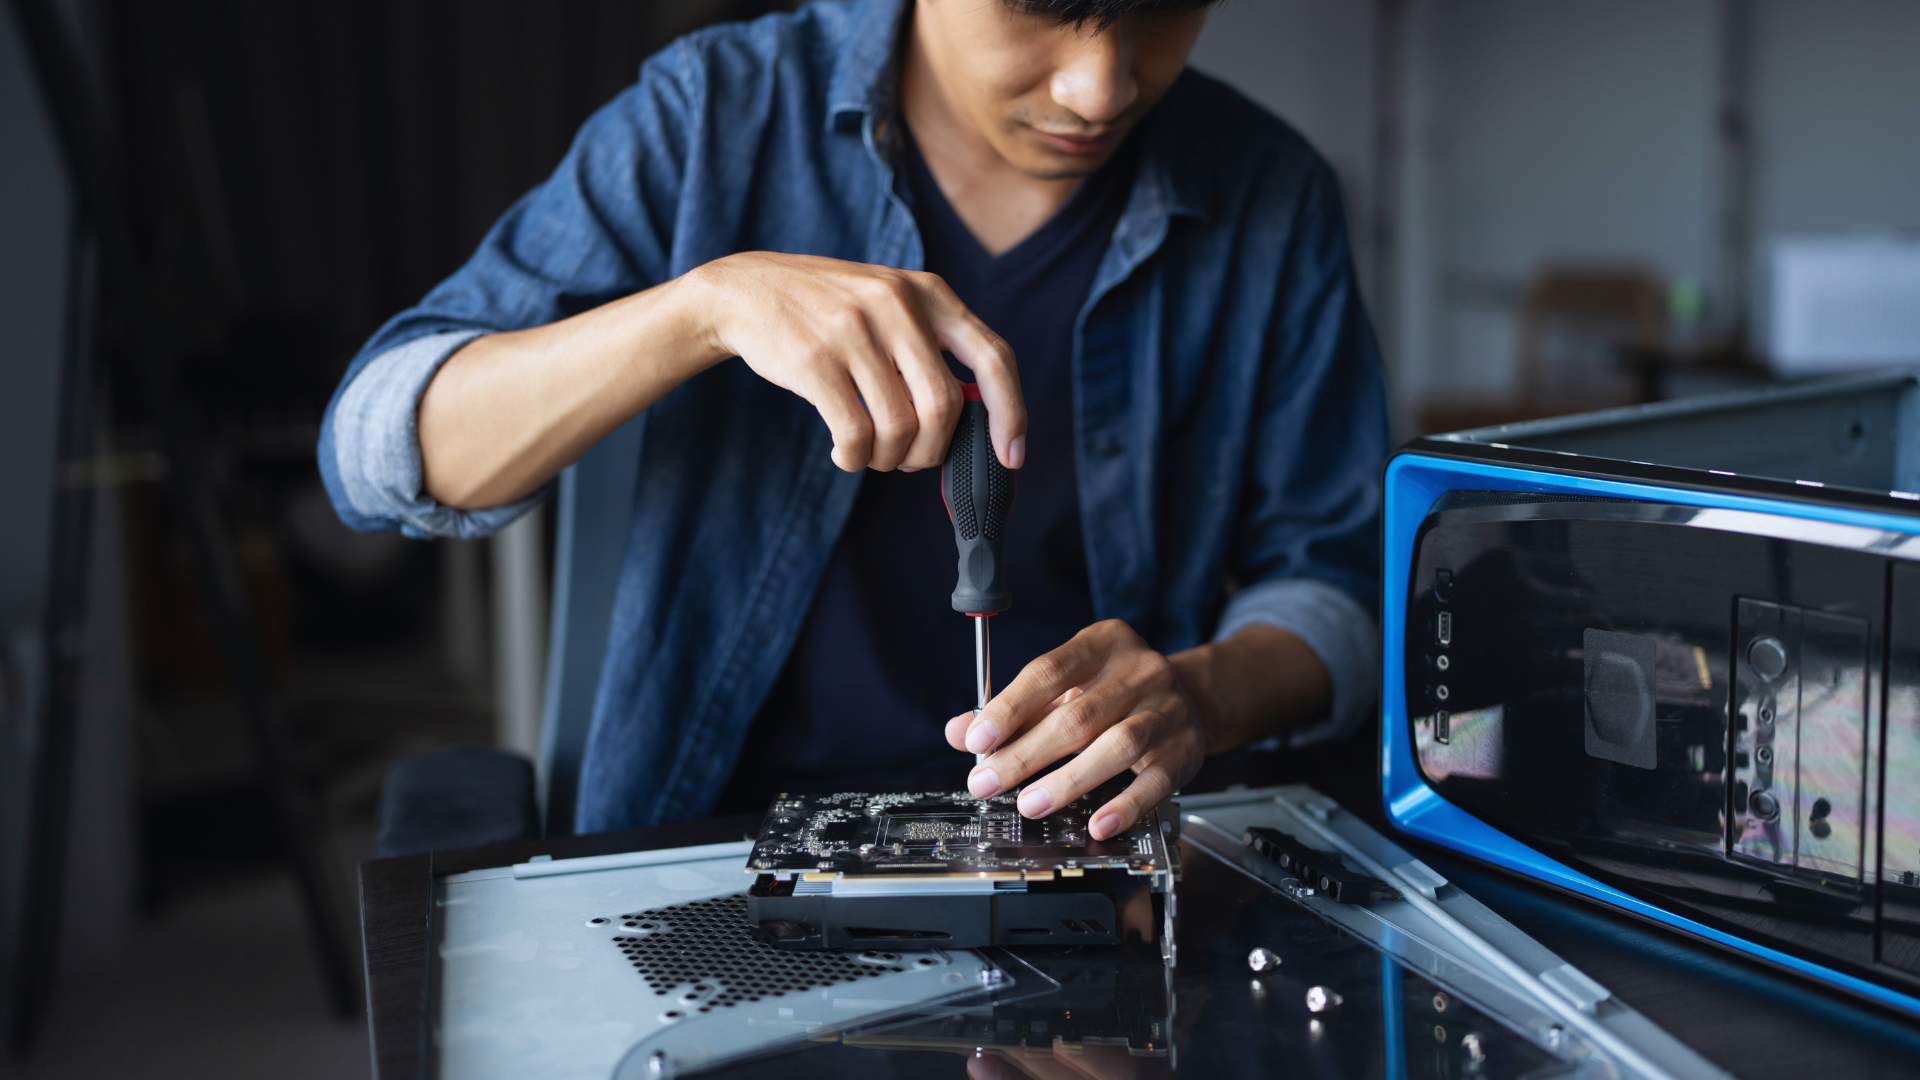
You want a custom gaming PC that matches your goals, budget, and upgrade plans without guesswork. Start by choosing the right core parts—CPU, GPU, motherboard, RAM, storage, power supply, and case—so the build performs reliably and fits your play style.
They will outline how to plan component choices based on performance needs and compatibility, and show how to assemble the parts safely while optimizing cooling, cable management, and BIOS/driver setup. Follow these steps, and you’ll build a balanced, upgradeable PC that delivers the performance you expect.
Planning and Selecting Core Components
This section highlights the practical choices that determine performance, compatibility, and future upgrade paths. It focuses on budget targets, motherboard/CPU compatibility, GPU selection for target resolutions, and RAM/storage trade-offs.
Setting Goals and Budget
They should define target resolution and frame rate first—1080p at 144Hz, 1440p at 60–144Hz, or 4K at 60Hz—because those choices drive GPU and CPU selection. Allocate budget percentages as a guideline: 40–50% to GPU, 20–25% to CPU and motherboard combined, 10–15% to RAM and storage, and the rest to case, PSU, and cooling.
List priorities clearly:
- Performance (FPS, resolution)
- Longevity (DDR5 readiness, PCIe 4.0/5.0)
- Noise and thermals
They should pick a realistic total and a maximum upgrade cushion. If they want ray tracing or 4K gaming, plan to spend significantly more on an Nvidia or AMD GPU that targets that workload. For value builds, favor midrange GPUs and CPUs that don’t bottleneck each other.
Choosing the Right Motherboard and CPU
They must match CPU socket and chipset first; for Intel 13th/14th-gen, choose LGA1700 with a compatible Z690/Z790 or B660/B760 board. For AMD Ryzen 7000/8000, pick AM5 boards supporting DDR5. Check VRM quality and cooling if they plan to overclock.
Focus on key features: PCIe lanes (PCIe 4.0 vs 5.0), M.2 slots for SSD storage, VRM phases, and I/O (USB, LAN, Wi‑Fi). Choose CPUs by core/thread needs: gaming favors high single-core clocks and 6–8 cores for most titles, while streaming or content creation benefits from 8–16 cores. Ensure the motherboard BIOS supports the CPU out of the box or plan for a BIOS update.
Selecting a Graphics Card for Gaming
They should target GPU selection to match resolution and settings. For competitive 1080p high-refresh, a midrange GPU performs best. For 1440p or 4K gaming, prioritize higher-end Nvidia or AMD cards with more VRAM and ray-tracing performance. Reference current models by tier (value, mid, high) and compare VRAM: 8–10GB for 1080p/1440p, 12–16GB+ recommended for 4K and future-proofing.
Check power and case fit: confirm PSU wattage and connectors (8‑pin/12VHPWR) and measure GPU clearance in the case. Consider features like DLSS/FSR support, driver stability, and noise. For builds with limited budgets, used GPUs can be viable, but verify the history and thermal performance.
Understanding RAM and Storage Options
They should choose RAM type and capacity based on platform: DDR5 for modern Intel 600/700-series and AM5 boards; DDR4 remains common on older motherboards. Aim for 16GB as the minimum for gaming, 32GB for streaming or content creation. Prioritize speed and latency appropriate to the CPU and motherboard—refer to QVL lists for guaranteed compatibility.
For storage, combine NVMe SSDs for OS and games with HDDs for bulk files if needed. Use PCIe 4.0 NVMe SSDs for faster load times; adopt PCIe 5.0 NVMe only if the motherboard and budget justify the marginal gains. Plan at least a 500GB NVMe for the OS and key games, and add 1TB+ SSDs for larger libraries. Ensure the motherboard provides enough M.2 slots or SATA ports for future expansion.
Assembly, Optimization, and Finishing Touches
This section covers the physical assembly steps, power delivery, and tidy cable routing, cooling choices, and thermal best practices, plus personalization, testing, and planning for future upgrades.
Building Your Custom Gaming PC Step by Step
They should begin by preparing the workspace: an anti-static mat, a Philips screwdriver, and standoffs laid out. Install the CPU into the motherboard socket, align the notch, and lock the retention arm; then apply a pea-sized dot of thermal paste to the CPU center if using an air or AIO cooler. Seat the RAM in the correct DIMM slots for dual- or quad-channel operation and install the M.2 NVMe drives before mounting the motherboard in the ATX or micro-ATX case to avoid cramped access later.
They should mount the GPU after securing the power supply unit (PSU) to ensure case clearance and correct PCIe cable length. Tighten screws evenly and connect the 24-pin ATX and 8-pin CPU EPS power connectors first, then the PCIe 6/8-pin(s) to the GPU. Recheck front-panel header pins, USB, and audio connectors before first boot.
Power Supply and Cable Management
They should choose a PSU with an appropriate wattage headroom—typically 20–30% above peak load—and an 80 Plus Gold or better efficiency rating. Modular or semi-modular PSUs simplify cable management by letting builders attach only required leads, reducing clutter and improving airflow.
They should route cables behind the motherboard tray using the case’s tie points and Velcro straps. Keep heavy cables like the 24-pin ATX and GPU power run as straight as possible to avoid stress on connectors. Label or photograph cable plugs during assembly so future component swaps or troubleshooting can proceed faster.
Cooling Solutions and Thermal Considerations
They should size cooling around component heat output: a mid-range GPU and CPU can run well with a quality air cooler; high-end parts or overclocking often justify an AIO or custom liquid cooling loop. For custom liquid cooling, plan radiator placement, tubing length, and pump location before cutting fittings and installing blocks.
They should ensure positive case airflow with at least one intake fan and one exhaust fan; match fan static pressure to radiator needs. Apply thermal paste correctly and torque cooler mounting screws in an X pattern to distribute pressure. Monitor temperatures under load to verify system responsiveness and adjust fan curves as needed.
Personalization, Testing, and Future Upgrades
They should configure BIOS settings: enable XMP/DOCP for RAM, set fan and pump curves, and cautiously apply CPU core voltage offsets if overclocking. Run a sequence of tests—POST check, OS install, driver updates, and stress tests like Prime95/Blender and GPU benchmarks—to validate stability and thermals.
They should add RGB lighting and cable combs for cosmetics after confirming airflow and temperatures. Keep spare screws, adapters, and an extra SATA cable in the case for quick future upgrades. Plan upgrade paths by leaving free PCIe slots, spare M.2 mounts, and modular PSU capacity so the custom PC builder can upgrade GPU, storage, or cooling without a full rebuild.